I'm one of those people that loves crafts but they usually turn out poorly. (like, ever since Kindergarten you could always tell which one was mine. ) The same is true for which seat is mine during dinner. Just look for the area with the most crumbs. I even try to be clean! It just happens :) But I was determined and I knew I wanted it to turn out well. So thus the pinterest researching and planning began!
I began this process by looking for pallet boards I could break apart for wood. (I had an awkward experience when I found a pallet board left for the dead against a fence at a playground. I went to examine the board and realized I was basically staring right toward the kids as they played. Ummm creeper, right? Except the creepy one was ME! (ahhhh!!!) I went to ask the ladies in charge if they knew anything about the board and they were so unfriendly! (I can't blame them--I'm glad they were being careful, and what weirdo drives around looking for pallet boards?) Anyway, now I know what it feels like when people think you're a child predator. needless to say I also left the pallet board for dead.
I kept looking but visited a neighborhood market and finally got a pallet board!! Insert Hallelujah chorus!!!!
.... but then decided it wasn't worth it to break apart. Too many tools needed/once it's apart I would need to cut the wood/etc. So off to Home Depot I went to buy wood.
 |
 |
| Using my handy dandy measuring tape from nursing school :) |
I bought the wood, had it cut the right size, then stained it. I ended up using Miniwax Special Walnut 224 stain, but it turned out too dark so I sanded some of it to give it the look I wanted. Looking back Provincial 211 would have been the right stain color.
 |
| Sanding to get the color just right |
 |
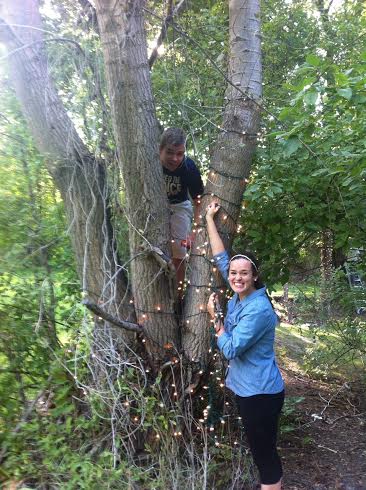
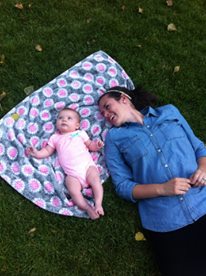
| My little cheerleader |
After that I researched which font I wanted to use. I know there are stencils you can buy, but I loved the idea of being able to use any font I wanted. After lots and lots and lots of free font shopping, I printed the letters then cut them out using a knife. (This took forever, but I did it to a movie so it wasn't bad.)
 |
Then it was time to use my stencils to paint on the letters! I had some acrylic paints on hand so I just used those to paint. I wanted a cream color (and only have red, yellow, blue, white, black), so it took a little bit of playing with to get it right.
 |
I painted and then, ta-da! I was done! Finally! I was so proud, relieved, ahhhh!! I did it. I did a craft and I loved it.
 |
| I was so happy with how this all turned out! I got the flowered plate at Goodwill for $2, the bottles and flowers for half off at Hobby Lobby, and then printed a couple wedding pictures off. |
 |
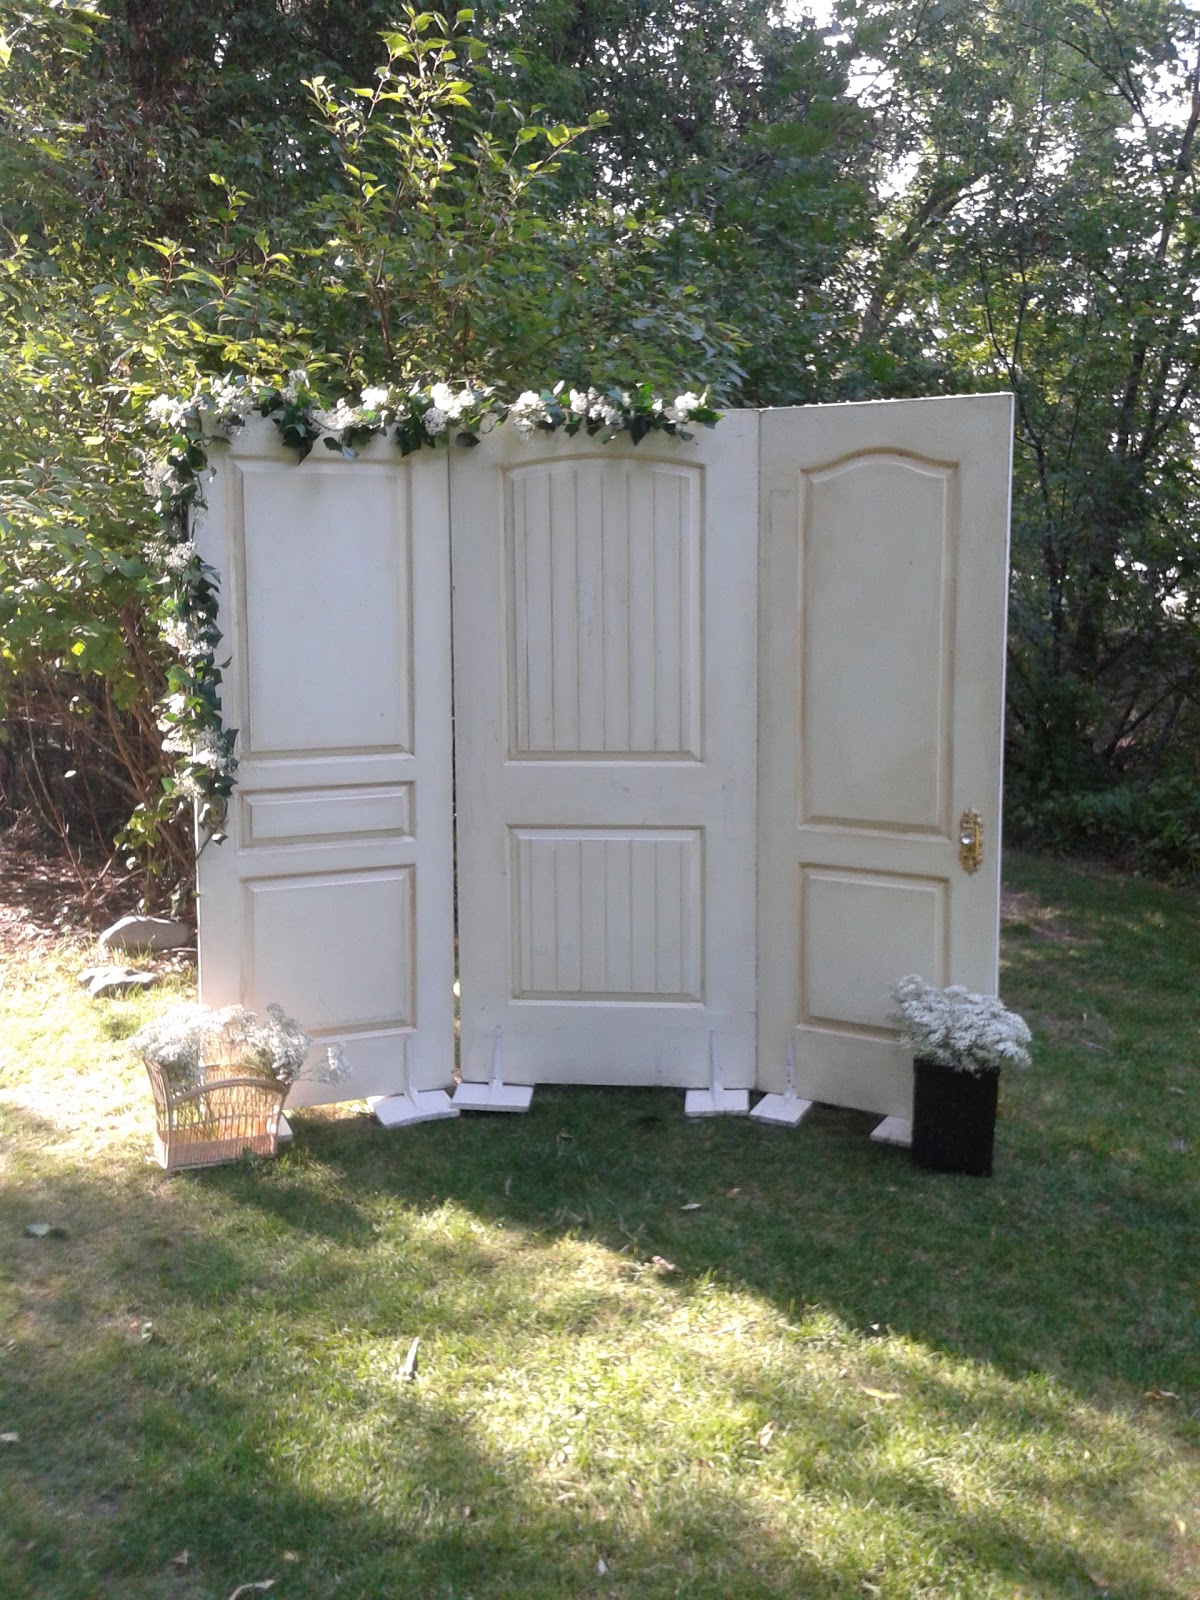
| Before shot |
 |
| After shot |
I learned SO much. To be honest in many ways it maybe wasn't worth the hassle, but the adventure and experience and finished product made it totally worth it!
And I have a new hobby now. I'm working on some Christmas signs and it's been about a bajillion times easier. Yay for learning and beautiful things to look at :)